How To: Password Protect Files and Directories
htpasswd, in conjunction with an .htaccess file, can be used to password protect specific files and directories.
Detailed information on htpasswd can be found here.
Contents
Password Protecting Folders from SiteWorx
The following options requires that htaccess is enabled for the domain in SiteWorx.
Creating an htpasswd User
Log into SiteWorx in the browser (https://ip.ad.dr.ess:2443/siteworx)
In SiteWorx, navigate to Hosting Features > Htaccess, either from the side menu or SiteWorx home
Choose the domain for the .htaccess file for from the Domain dropdown

Click Login. This opens the htaccess page for the domain
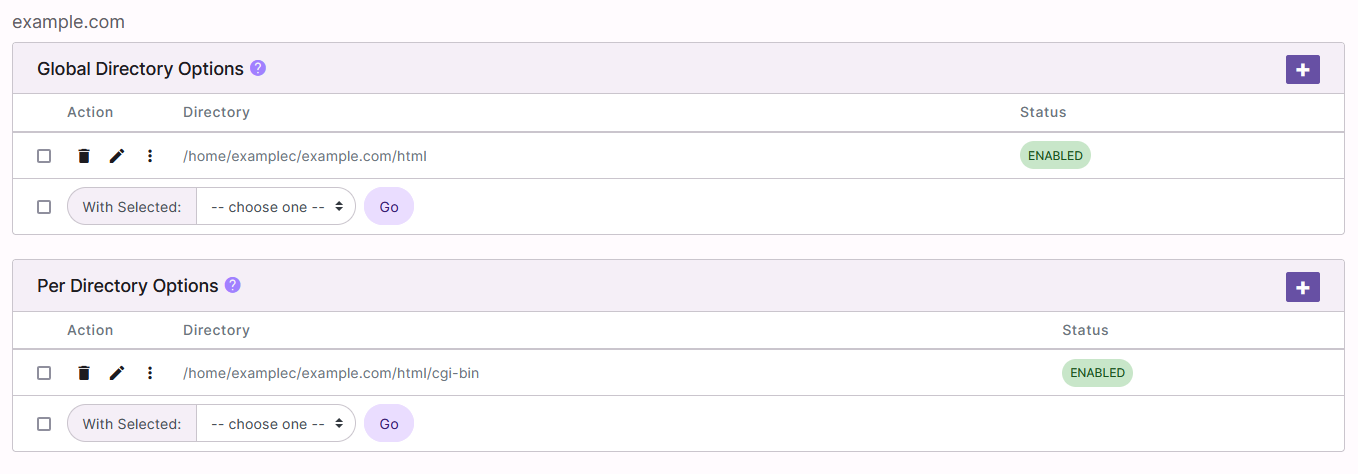
Click the Pencil next to the desired htaccess file. This opens the Directory Options Management page
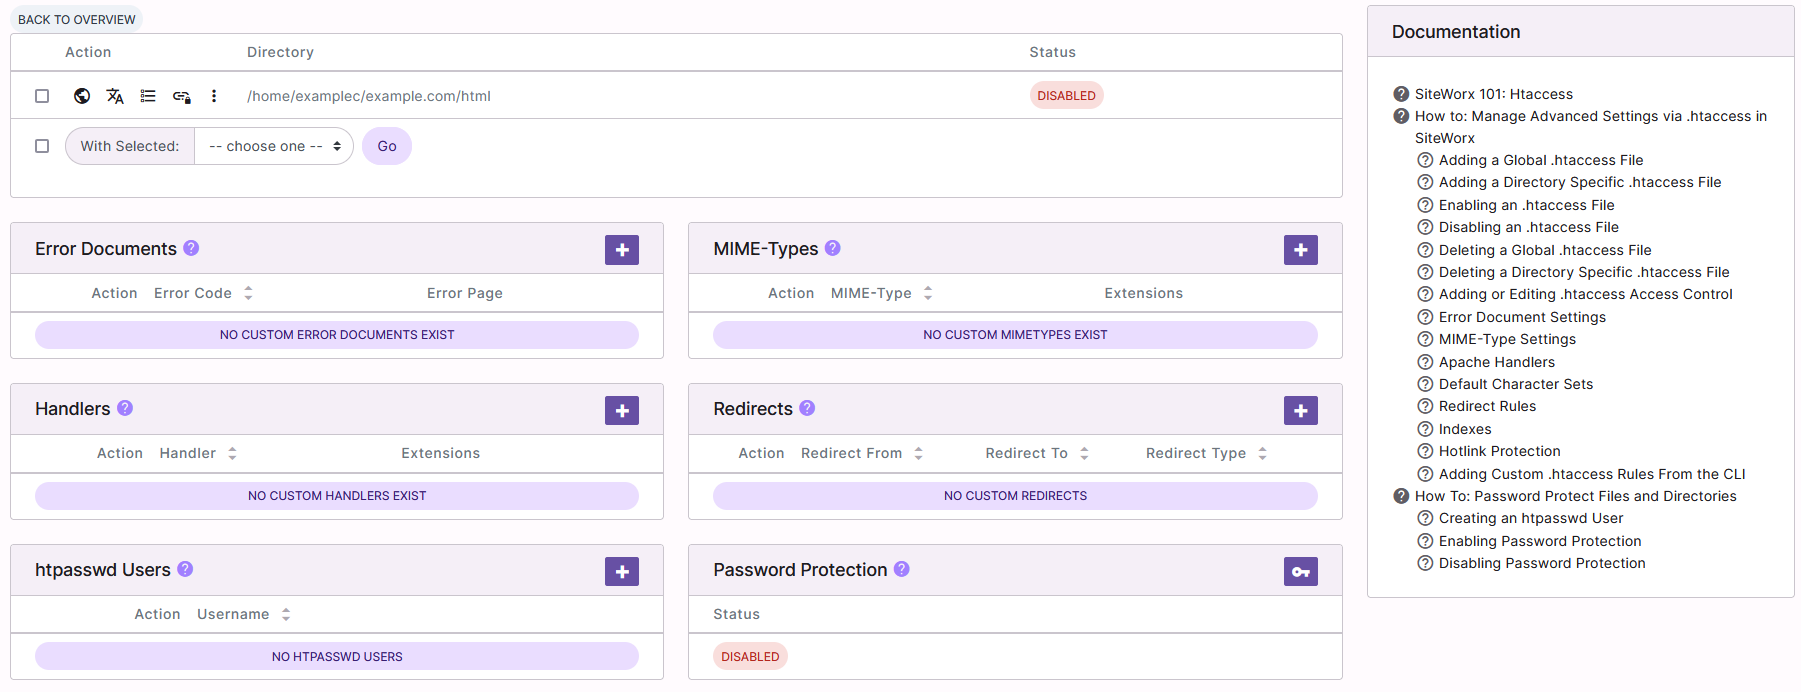
Next to htpasswd Users click the +. This opens the Add htpassrd User form

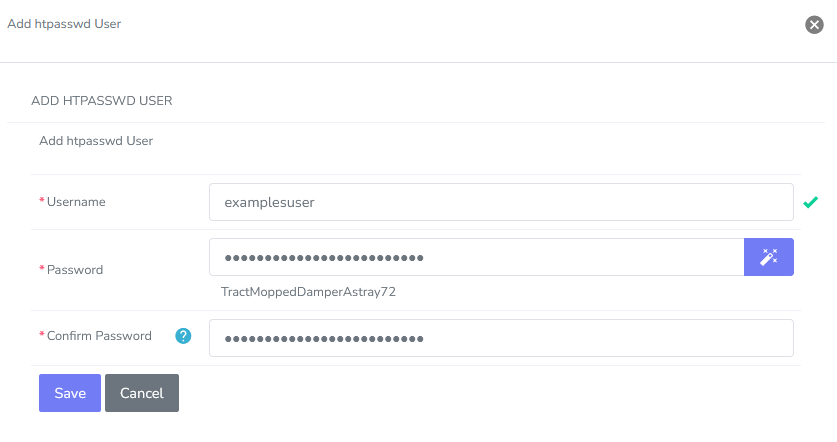
Update the required fields:
Username: The name of the user
Password: The user’s password
Confirm Password: The same password
Click Save
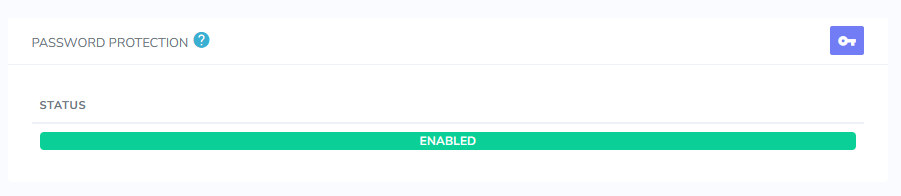
Enabling Password Protection
Warning
Please make sure that there is at least one htpasswd user before enabling password protection. If password protection is enabled, and there are no users listed, no one will be able to access the protected resources.
Log into SiteWorx in the browser (https://ip.ad.dr.ess:2443/siteworx)
In SiteWorx, navigate to Hosting Features > Htaccess, either from the side menu or SiteWorx home
Choose the domain for the .htaccess file for from the Domain dropdown
Click Login. This opens the htaccess page for the domain
Click the Pencil next to the desired htaccess file. This opens the Directory Options Management page
Next to Password Protection click the key. This opens the Password protection form
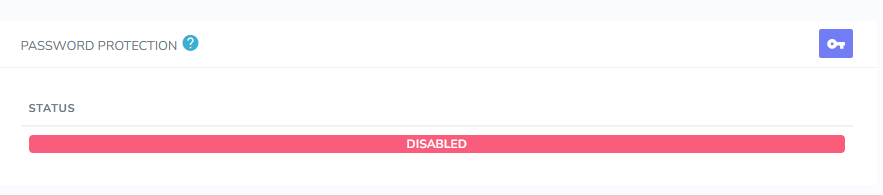

Select Enabled
Click Update
Disabling Password Protection
Log into SiteWorx in the browser (https://ip.ad.dr.ess:2443/siteworx)
In SiteWorx, navigate to Hosting Features > Htaccess, either from the side menu or SiteWorx home
Choose the domain for the .htaccess file for from the Domain dropdown
Click Login. This opens the htaccess page for the domain
Click the Pencil next to the desired htaccess file. This opens the Directory Options Management page
Next to Password Protection click the key. This opens the Password protection form
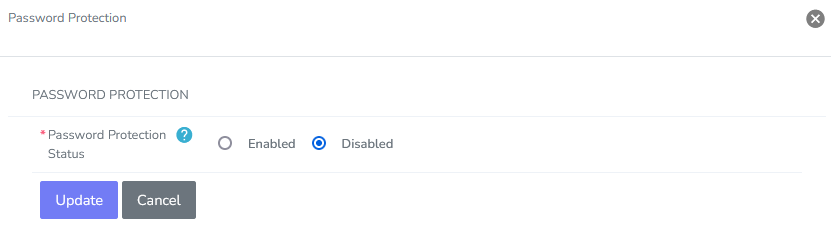
Select Disabled
Click Update
Password Protecting Folders and Directories from the CLI
Creating the htpasswd File
Log in to the server at the CLI as either root (if the Server Administrator), or the SiteWorx account shell user, either via SSH or from the terminal
Navigate to directory that needs to be password protected, replacing {unixuser}, {domain.com},. and {directory path} with the corresponding information
cd /home/{unixuser}/{domain.com}/{directory path}
Example, where the directory that needs to be password protected is called
protected, and is located under the domain’shtmldirectory:cd /home/user/example.com/html/protected
Create an .htpasswd file by running the following command, replacing {unixuser}, {domain.com}, {directory path}, and {user} with the corresponding information. {user} should be the user that should have access to the directory.
htpasswd -c /home/{unixuser}/{domain.com}/{directory path}/.htpasswd {user}
Example:
htpasswd -c /home/user/example.com/html/protected/.htpasswd admin
Follow the prompts to create the user password. Example
[root@server protected]# htpasswd -c /home/user/example.com/html/protected/.htpasswd admin
New password:
Re-type new password:
Adding password for user admin
[root@gserver protected]#
Run the above command again, ommitting the
-cflag, for any other users that should have access to the directory Example:[root@server protected]# htpasswd -c /home/user/example.com/html/protected/.htpasswd seconduser New password: Re-type new password: Adding password for user seconduser [root@gserver protected]#
The .htpasswd file includes the list of users that has access to that directory, along with an encrypted password hash. Example:
[root@server protected]# cat .htpasswd
admin:$apr1$AlDZ/BuC$wufy0Ugc0Uj8FWXIse3Bb.
seconduser:$apr1$udf2IG9M$h/VK.VXagLBYG..uQf4Nu.
[root@server protected]#
Update the permissions on the
.htpasswdfile. They should be644and{unixuser}:{unixuser}, replacing {unixuser} with the corresponding informationchmod 644 .htpasswd chown {unixuser}:{unixuser} .htpasswd
Creating or Modifying the htaccess File
Log in to the server at the CLI as either root (if the Server Administrator), or the SiteWorx account shell user, either via SSH or from the terminal
Navigate to directory that needs to be password protected, replacing {unixuser}, {domain.com},. and {directory path} with the corresponding information
cd /home/{unixuser}/{domain.com}/{directory path}
Example, where the directory that needs to be password protected is called
protected, and is located under the domain’shtmldirectory:cd /home/user/example.com/html/protected
Using a text editor create, or open, a file named
.htacces. The following example uses the Vim text editor:vim .htaccess
Add the following lines, replacing {path to .htpasswd file}, {file}, and {extension} with the corresponding information where applicable:
To protect the entire directory:
#Protect Directory
AuthName "Dialog prompt"
AuthType Basic
AuthUserFile {path to .htpasswd file}
Require valid-user
Example:
#Protect Directory
AuthName "Dialog prompt"
AuthType Basic
AuthUserFile /home/user/example.com/html/protected/.htpasswd
Require valid-user
To protect a single file in the directory:
#Protect single file
<Files {file}>
AuthName "Dialog prompt"
AuthType Basic
AuthUserFile {path to .htpasswd file}
Require valid-user
</Files
Example, protecting a file named
testfile.php:#Protect single file <Files testfile.php> AuthName "Dialog prompt" AuthType Basic AuthUserFile /home/user/example.com/html/protected/.htpasswd Require valid-user </Files
To protect multiple files in the directory:
#Protect multiple files
<FilesMatch "^({file}|{file}).{extension}$">
AuthName "Dialog prompt"
AuthType Basic
AuthUserFile {path to .htpasswd file}
Require valid-user
</FilesMatch>
Example, protecting files named
testfile.phpandnewfile.php:#Protect multiple files <FilesMatch "^(testfile|newfile).php$"> AuthName "Dialog prompt" AuthType Basic AuthUserFile {path to .htpasswd file} Require valid-user </FilesMatch>
Save the file, and exit the text editor
Update the permissions on the
.htaccessfile. They should be644and{unixuser}:{unixuser}, replacing {unixuser} with the corresponding informationchmod 644 .htaccess chown {unixuser}:{unixuser} .htaccess