How To: Install and Enable the Imunify Plugin for InterWorx
The Imunify plugin for InterWorx allows both NodeWorx and SiteWorx users the ability to access and manage ImunifyAV, ImunifyAV+, and Imunify360 services.
Note
ImunifyAV+ and Imunify360 require a license or IP address registered with Imunify. A license is not required for ImmunifyAV. Details on the differences between each product, and license information can be found here.
To Manage the Imunify Plugin
Note
Enabling the Imunify plugin allows the services to be accessible from the InterWorx Control Panel. It does not automatically install the service. Installing the desired Imunify service from the command line is still required. See To Install Imunify for further instructions.
Likewise, disabling the Imunify plugin just removes accessibility from the InterWorx Control Panel. It does not automatically uninstall the service. See To Uninstall Imunify for further instructions.
Log into NodeWorx from the browser (https://ip.ad.dr.ess:2443/nodeworx)
In NodeWorx, navigate to NodeWorx > Plugins

Under Miscellaneous, click the Pencil next to Imunify. This opens the Edit Plugin form

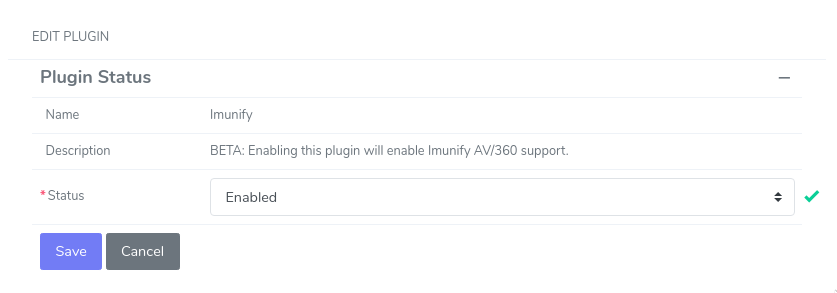
Select either Enabled or Disabled from the Status dropdown
Click Save
To Install Imunify
Installing ImunifyAV or ImunifyAV+
Log in to the server at the CLI as root, either via SSH or from the terminal
From the CLI, run the following:
~iworx/bin/imunify.pex --install --version av
Installing Imunify360
Log in to the server at the CLI as root, either via SSH or from the terminal
From the CLI, run the following:
~iworx/bin/imunify.pex --install --version im360
To Uninstall Imunify
Log in to the server at the CLI as root, either via SSH or from the terminal
From the CLI, run the following:
~iworx/bin/imunify.pex --uninstall
To Use ImunifyAV and ImunifyAV+
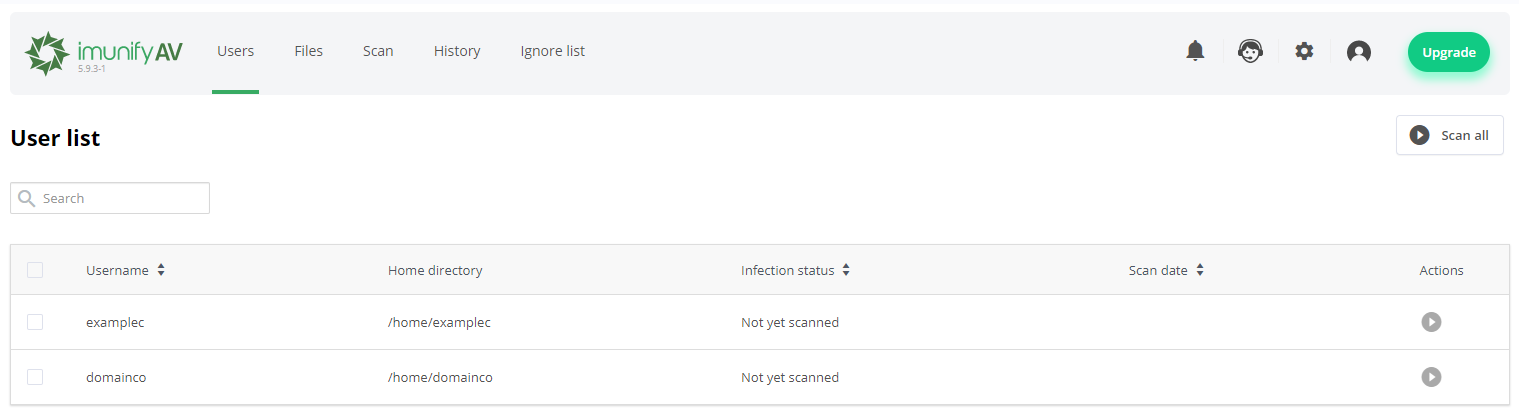
Managing ImunifyAV and ImunifyAV+ From NodeWorx
Detailed use information can be found at Imunify’s documentation for the ImmunifyAV User Interface.
Log into NodeWorx from the browser (https://ip.ad.dr.ess:2443/nodeworx)
In NodeWorx, navigate to ImunifyAV
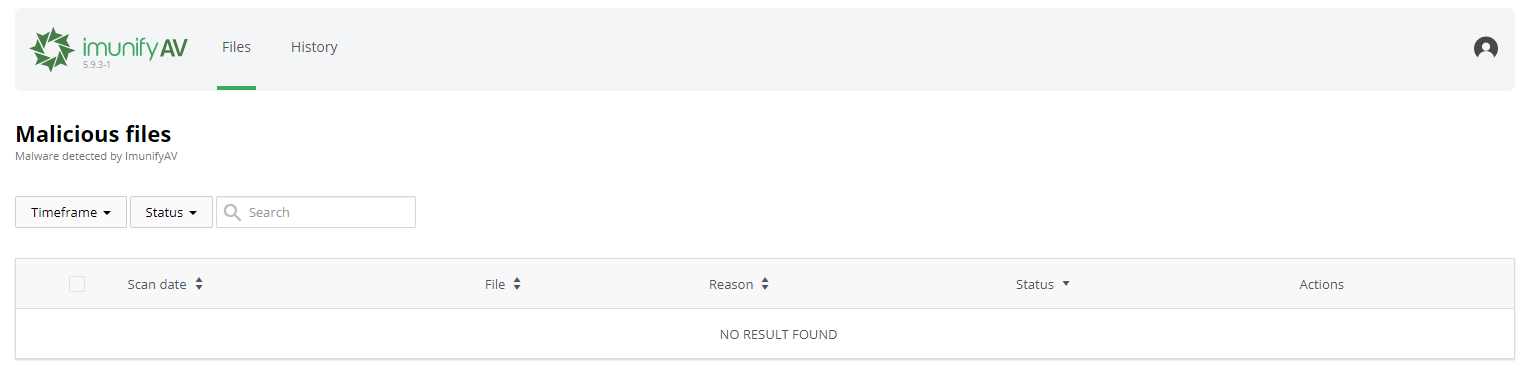
Managing ImunifyAV and ImunifyAV+ From SiteWorx
Detailed use information can be found at Imunify’s documentation for the ImmunifyAV End User Interface.
Log into SiteWorx from the browser (https://ip.ad.dr.ess:2443/siteworx)
In SiteWorx, navigate to ImunifyAV, either from the side menu or SiteWorx Home
To Use Imunify360 in InterWorx
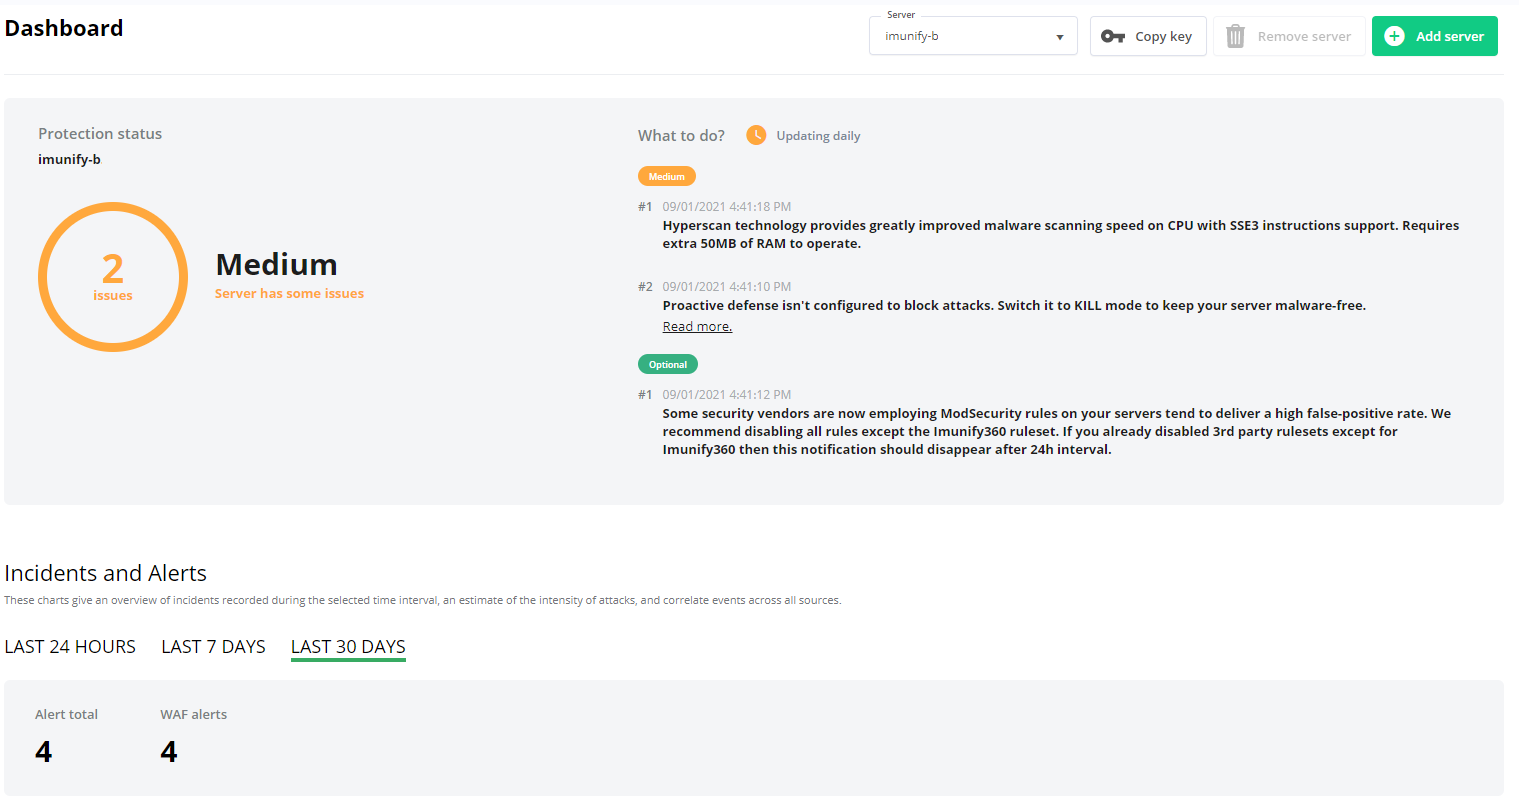
Managing Imunify360 From NodeWorx
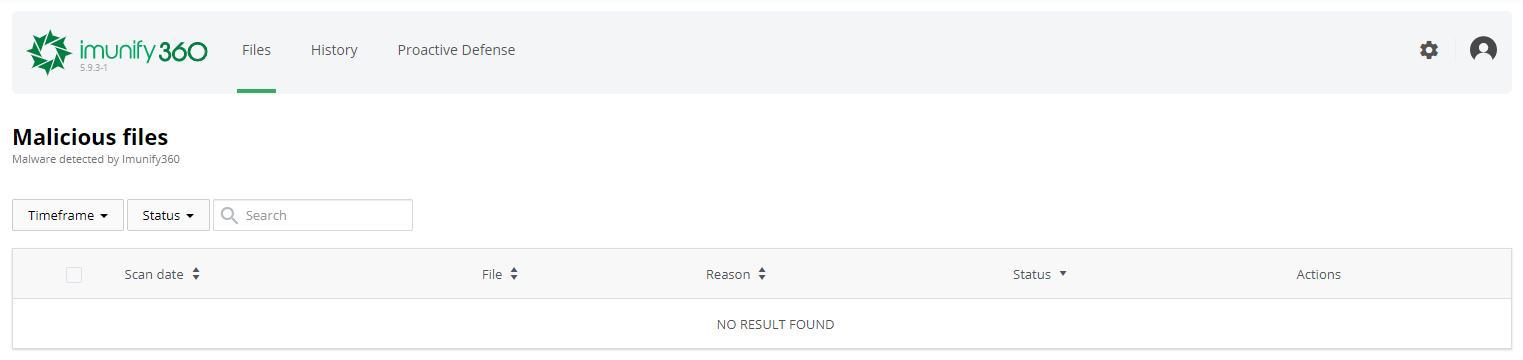
Detailed use information can be found at Imunify’s documentation for the Immunify360 Dashboard.
Log into NodeWorx from the browser (https://ip.ad.dr.ess:2443/nodeworx)
In NodeWorx, navigate to Imunify360
Managing Imunify360 From SiteWorx
Detailed use information can be found at Imunify’s documentation for the Immunify360 User Interface.
Log into SiteWorx from the browser (https://ip.ad.dr.ess:2443/siteworx)
In SiteWorx, navigate to Imunify360, either from the side menu or SiteWorx Home
Webshield
Note
Installing Webshield will install modsecurity and disable the InterWorx-native APF firewall (if enabled).
Detailed use information can be found at Imunify’s documentation for Webshield.
Log in to the server at the CLI as root, either via SSH or from the terminal
From the CLI, run the following:
~iworx/bin/imunify.pex --enable-web-shield
~iworx/bin/imunify.pex --rebuild-ssl-cache
3rd Party IDS/Firewall Integration
Imunify360 can support integrations with ConfigServer CSF and CSX. More information can be found at Imunify’s documentation for IDS Integration.
Hardened PHP
Because the CloudLinux AltPHP Binaries are not integrated into the native InterWorx Multiple PHP tool, support for Hardened PHP is only available on servers running CloudLinux with CageFS and CloudLinux PHP selector enabled.
Information on using CloudLinux with InterWorx can be found here.