How To: Enable and Use the LiteSpeed Plugin
Note
InterWorx does not support OpenLiteSpeed.
Note
LiteSpeed PHP versions for EL9 have not been made available at this time.
InterWorx includes a plugin for LiteSpeed. This will replace Apache as the as the webserver.
Because InterWorx does not handle PHP on servers using LiteSpeed, manual set up and management of PHP handlers and PHP versions for domains is required.
A paid license from LiteSpeed is required. LitesSpeed licenses can be purchased here.
Note
Domain-level error logging does not appear in the default location of /home/{unixuser}/var/{domain.com}/logs
on LiteSpeed servers. The LiteSpeed logs should be referenced, instead. These can be found at
/usr/local/lsws/logs/.
Contents
Installing LiteSpeed
Information on installing LiteSpeed can be found on their website.
When prompted in the LiteSpeed installation script, select option the option for InterWorx. In the following example, that is option 6:
Will you use LiteSpeed Web Server with a hosting control panel?

1. NONE
2. cPanel
3. DirectAdmin
4. Plesk
5. Hsphere
6. Interworx
7. Lxadmin
8. ISPManager
Please select (0-7) [0]? 6
When prompted in the LiteSpeed installation script, set the Port Offset to 0:
Would you like to run LiteSpeed along side with Apache on another port
to make sure everything work properly? If yes, please set "Port Offset"
to a non-zero value, LiteSpeed will run on Port 80 + "Port Offset",
otherwise, set to "0" to replace Apache.

Port Offset [2000]? 0
When the installation script is complete, check the status of the Apache service
systemctl status httpd
If the Apache service is running, stop the service
systemctl stop httpd
Check the LiteSpeed service status
systemctl status lsws
If LiteSpeed is stopped, start the service
systemctl start lsws
If there are existing SiteWorx accounts on the server when LiteSpeed is enabled, run the following to re-write the vhosts to reflect the correct format for LiteSpeed. Newly created accounts will use the LiteSpeed format by default
~iworx/bin/httpd.pex --write-vhosts-all
To Enable the Litespeed Plugin
Log into NodeWorx from the browser (https://ip.ad.dr.ess:2443/nodeworx)
In NodeWorx, navigate to NodeWorx > Plugins

Under the Miscellaneous heading, click the Pencil Icon next to LiteSpeed Webserver. This opens the Edit Plugin form

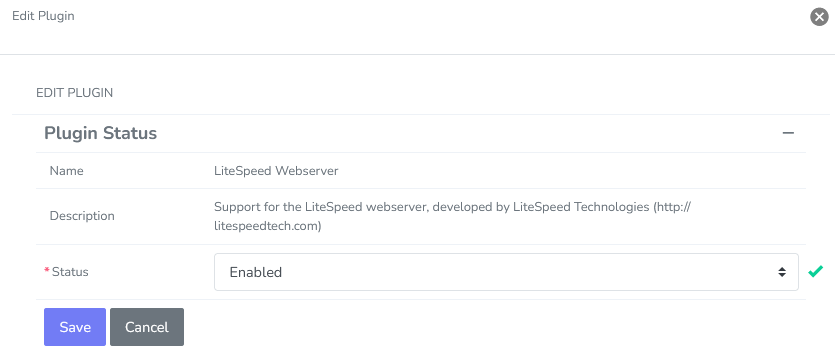
Select Enabled from the dropdown
Click Save
Managing PHP With LiteSpeed
Because InterWorx does not manage PHP on servers using LiteSpeed, users are required to manually install the lsphp versions, and set
up the handlers in the LiteSpeed admin interface.
Warning
This means that management of all PHP options, extensions, etc, are only possible via LiteSpeed. InterWorx does not handle PHP on LiteSpeed servers at all.
For example, if PHP version of an domain is changed via SiteWorx, that change will not be applied. If PHP extensions are installed via the PHP extensions page in InterWorx, they will not appear in the php versions available to the sites, etc.
Any questions or issues that may arise with PHP on a LiteSpeed server must be directed to Litespeed’s support.
Sites will use the highest version of PHP installed, by default. For example, if lsphp54, lsphp71, and lsphp80 are all installed,
all of the domains will use PHP 8.0 (lsphp80), unless there is an .htaccess file for the domain specifying otherwise. See Changing a PHP Version for a Domain.
Adding the PHP Handlers
Log in to the server at the CLI as root, either via SSH or from the terminal
Run the following to install the LiteSpeed repo:
For EL8 servers:
rpm -ivh https://rpms.litespeedtech.com/centos/litespeed-repo-1.3-1.el8.noarch.rpm
For EL9 servers:
Note
LiteSpeed PHP versions for EL9 have not been made available at this time.
Install the desired
lsphpversions. These are namedlsphpXXwith XX being the version of php. The following example installs php 8.1:yum install lsphp81
Log into the LiteSpeed admin interface. This can be found at https://{hostname.com}:7080 or https://{ip.ad.re.ss}:7080, replacing {hostname.com} or {ip.ad.re.ss} with the corresponding information
Note
If the LiteSpeed admin page cannot be accessed, please check the firewall settings on the server, as port 7080 may be blocked or unavailable.
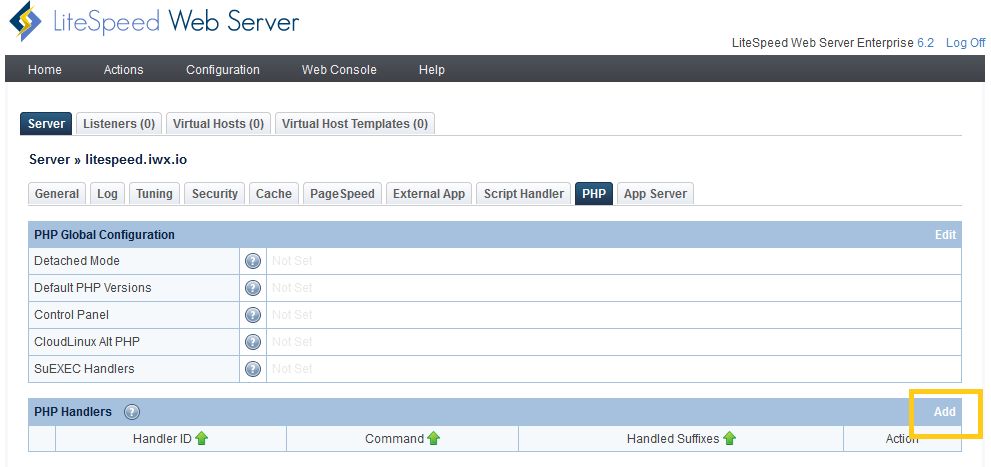
In the Litespeed admin interface, navigate to Configuration > Server > PHP
Under PHP Handlers, click Add. This opens the Add Handler form
Update the required fields:
Handler ID: A name for the handler. The example in the following screenshot uses
lsphp81, since the handler will be set for PHP 8.1Command: The path to the
lsphpexecutable for the version. This is generally located at/usr/local/lsws/lsphp{version}/bin/lsphp, replacing{version}withlsphpversion numberHandled Suffixes: The file extension/suffixes that should be processed by this handler, such as
php

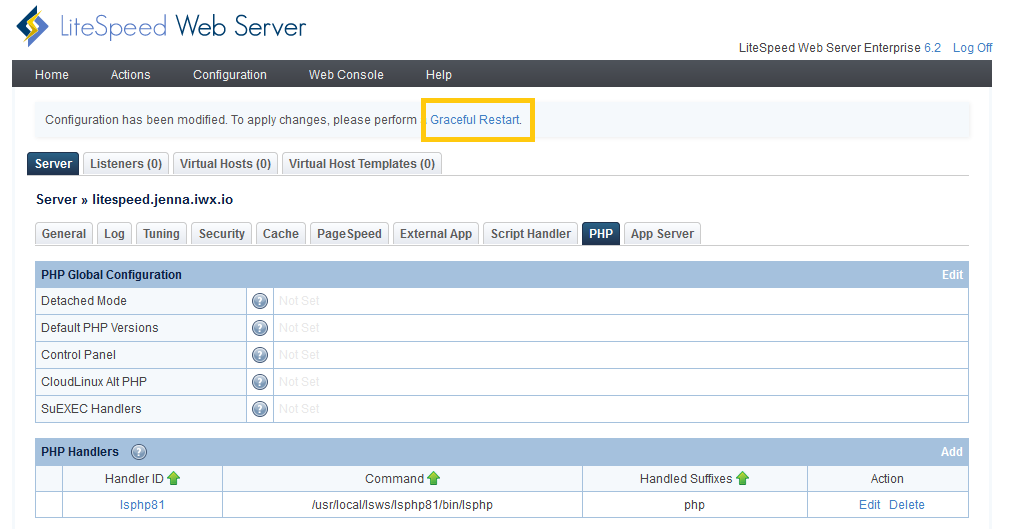
CLick Save
Click Graceful Restart at the top of the page, to restart the Litespeed webserver
Changing a PHP Version for a Domain
Log in to the server at the CLI as root, either via SSH or from the terminal
At the CLI, navigate to the docroot of the domain. This generally located at
/home/{unixuser}/{domain.com}/html, replacing{unixuser}and{domain.com}with the corresponding information. The following example navigates to the docroot for the domainexample.comcd /home/exampleco/example.com/html
Using a text editor, create a file named
.htaccess, or open the exiting.htaccessfile for editing. The following example uses the Vim text editor. This command will both create a new file, and open an existing one to be editedvim .htaccess
Update the
.htaccessfile to include the following, replacing{handler ID}and{handled suffixes/file extensions}with the corresponding information:AddHandler application/x-httpd-{handler ID} .{handled suffixes/file extensions}
The following example specifies the handler for
lsphp74, which is for PHP 7.4–please note the (.) before the file extension. That is required:AddHandler application/x-httpd-lsphp74 .php
Save and exit the text editor
Update the permissions on the file. The correct permissions are
{unixuser}:{unixuser}, replacing{unixuser}with the corresponding informationchown {unixuser}:{unixuser} .htaccess
Example:
chown exampleco:exampleco .htaccess
Uninstalling Litespeed
Disable the Litespeed Plugin
Log into NodeWorx from the browser (https://ip.ad.dr.ess:2443/nodeworx)
In NodeWorx, navigate to NodeWorx > Plugins
Under the Miscellaneous heading, click the Pencil Icon next to LiteSpeed Webserver. This opens the Edit Plugin form

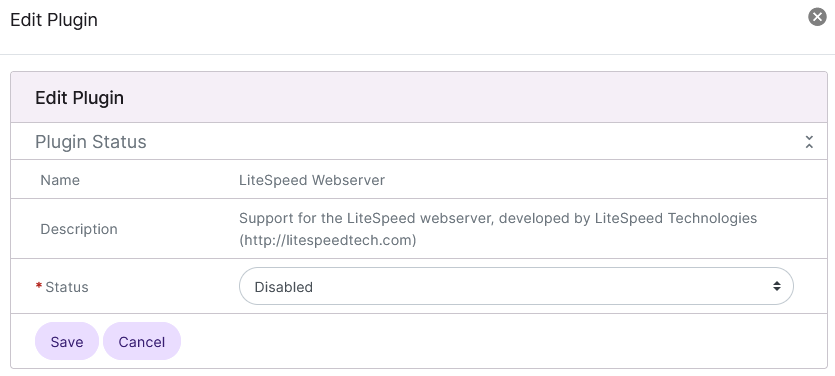
Select Enabled from the dropdown
Click Save
Uninstall LiteSpeed
Log in to the server at the CLI as root, either via SSH or from the terminal
Run the following, and follow the prompts:
/usr/local/lsws/admin/misc/uninstall.sh
Example:
[root@server ~]# /usr/local/lsws/admin/misc/uninstall.sh

WARNING:

All sub directories under "/usr/local/lsws"
created during installation will be removed!
However, conf/ and logs/ can be optionally preserved.
If you want to preserve any file under the other sub-directories created
by installation script, please backup before proceeding.

Manually created sub-directories under "/usr/local/lsws"
will not be touched.

Do you want to uninstall LiteSpeed Web Server? [y/N]y

LiteSpeed web server is running, it must be stopped in order to continue
uninstallation.

Would you like to stop it now? [Y/n]Y

[ERROR] Cannot detect control panel environment. Only cPanel WHM, Plesk, DirectAdmin are checked for now.
[OK] litespeed: stopped.

Do you want to keep server configuration files? [y/N]N

Do you want to keep server log files? [y/N]N

LiteSpeed Web Server has been successfully uninstalled.
[root@server ~]#
Check the LiteSpeed service status. It should show as stopped, failed, or unavailable
systemctl status lsws
Check the status of Apache
systemctl status httpd
If the Apache service is stopped, start the service
systemctl start httpd
If there are existing SiteWorx accounts on the server when LiteSpeed is disabled, run the following to re-write the vhosts to reflect the correct format for Apache. Newly created accounts will use the Apache format by default
~iworx/bin/httpd.pex --write-vhosts-all