How To: Install and Enable the CloudLinux Plugin for InterWorx
InterWorx provides a plugin for CloudLinux, which allows both NodeWorx and SiteWorx users the ability to access and manage various CloudLinux services.
To Install the CloudLinux Plugin
Log in to the server at the CLI as root, either via SSH or from the terminal
Install the InterWorx CloudLinux plugin with the following:
yum install interworx-plugin-cloudlinux
Install CloudLinux with the installer script:
wget https://repo.cloudlinux.com/cloudlinux/sources/cln/cldeploy
Activate the CloudLinux license
If using an activation key:
sh cldeploy -k [activation_key]
If using an IP based license:
sh cldeploy -i
Reboot the server:
reboot(Optional) CageFS and the multiple PHP versions that are provided by CloudLinux can be enabled and installed from the GUI. However, if desired, they can also be installed manually at the command line. To do so, run the following as root:
To install and enable CageFS:
Warning
If accessing root via a sudo or su user, be sure to add the user to
/etc/cagefs/exclude/systemuserlistor/etc/cagefs/exclude/interworxbefore runningcagefsctl --init.yum install cagefs -y --disablerepo=remi* -y cagefsctl --init cagefsctl --enable-cagefs
More information on using CageFS from the command line can be found here.
To install all CloudLinux PHP versions:
yum clean all
yum groupinstall alt-php --disablerepo=remi* -y
Enabling the CloudLinux Plugin in NodeWorx
Log into NodeWorx from the browser (https://ip.ad.dr.ess:2443/nodeworx)
In NodeWorx, navigate to NodeWorx > Plugins

Under Miscellaneous, click the Pencil next to CloudLinux LVE Manager. This opens the Edit Plugin form
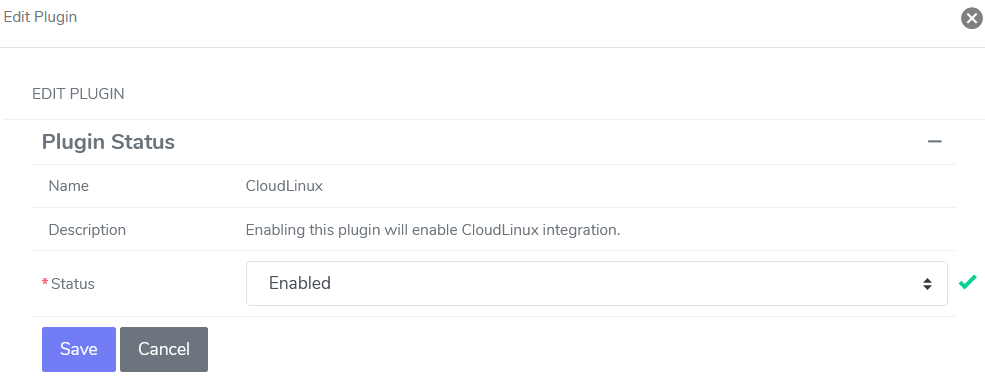
Select Enabled from the Status dropdown
Click Save
Using the CloudLinux Plugin in NodeWorx (LVE Manager)
After the plugin is enabled, CloudLinux tools can be found in NodeWorx under CloudLinux > Lve Manager in the side menu
CloudLinux Installation Wizard
The CloudLinux Installation Wizard will automatically display when accessing the LVE Manager for the first time. It allows for to easily installation and set up of CloudLinux OS components on InterWorx.
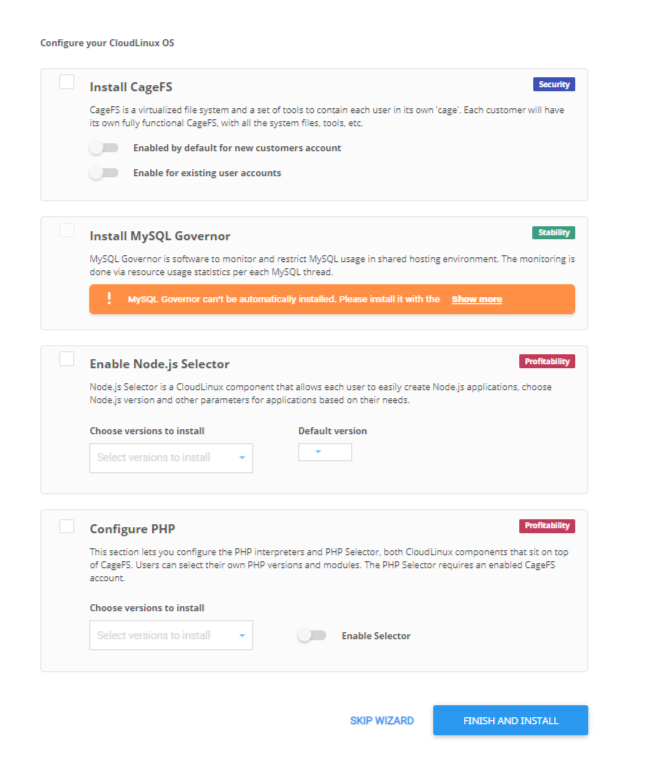
More information on the Cloud Linux Installation Wizard can be found here.
LVE Manager
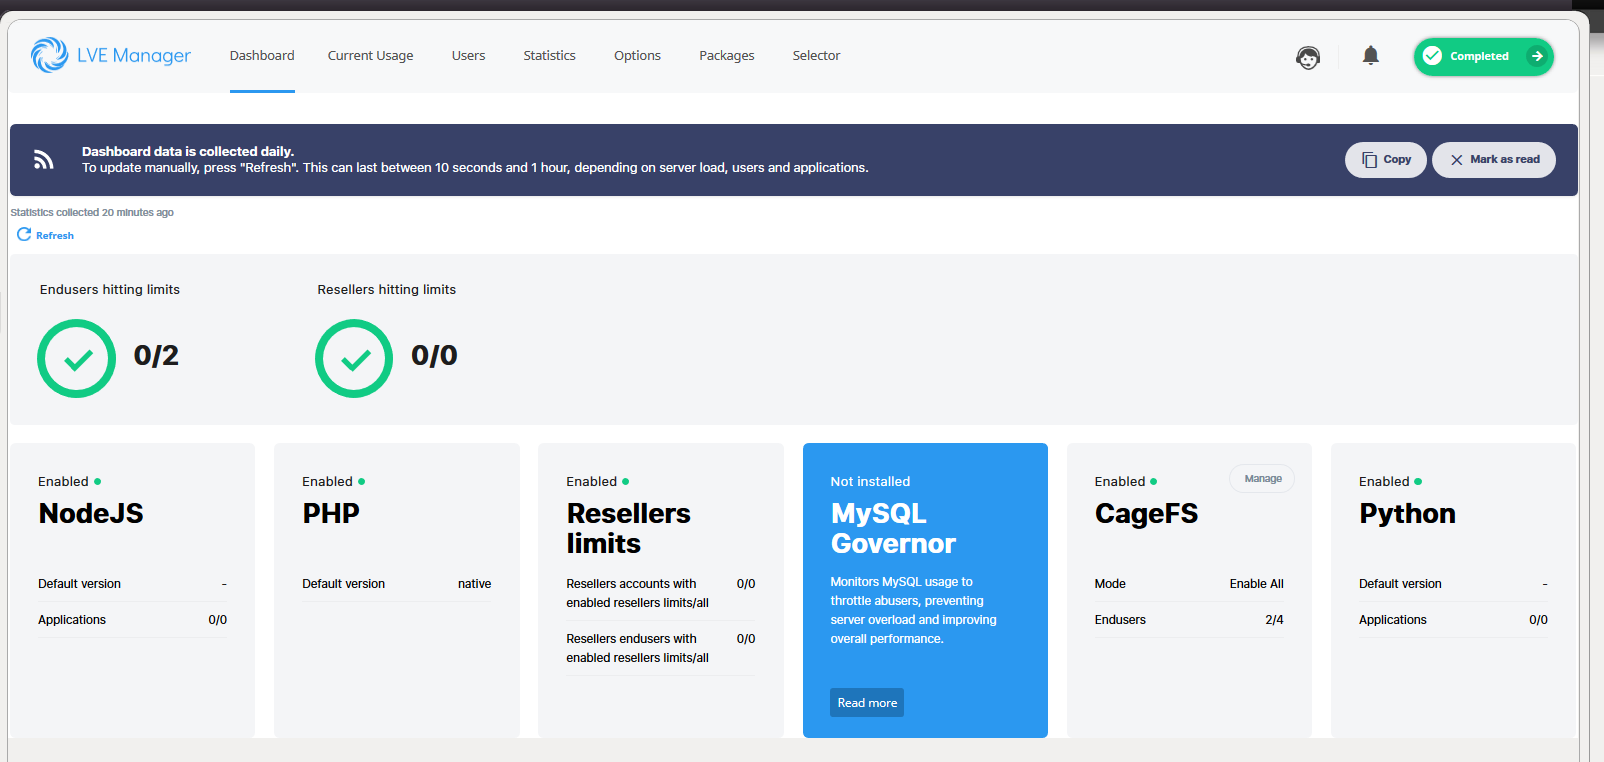
From the LVE Manger, the following controls can be managed:
Current Usage
Users
CageFS user Management
Statistics
CloudLinux PHP Selector
Note
In order for CloudLinux PHP versions to be available to SiteWorx accounts, the System PHP Mode must be set to mod_suphp on the Web Server page in NodeWorx
To set the System PHP Mode:
Log into NodeWorx from the browser (https://ip.ad.dr.ess:2443/nodeworx)
In NodeWorx, navigate to System Services > Web Server > Overview
Under PHP Integration Mode, select mod_suphp from the PHP Mode dropdown
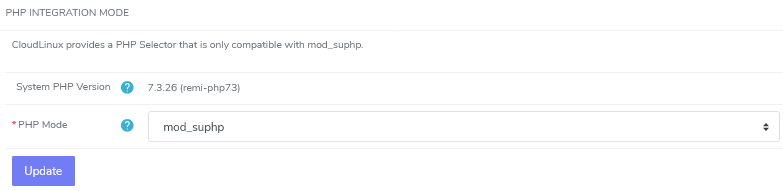
Click Update
Note
SiteWorx accounts must be added to CageFS, first, in order for CloudLinux PHP options to be available in SiteWorx
Nodejs and Python installation