How To: Manage the Mail Queue
The mail queue is where messages are stored before they are processed and delivered. From the Mail Queue page in NodeWorx, administrators can view, expire, and delete messages that may be stuck in the queue. It is also possible to purge the entire queue, as well as send test messages from the server, itself, to troubleshoot sending or delivery issues.
This page can be particularly useful in identifying and removing spam.
Contents
To Send a Test Message
This feature can be used to troubleshoot mail delivery and sending issues. Sending a test message from the Mail Queue page in Nodeworx sends the message directly from the mail server. This can be helpful in determining if the issue is related to specific mail clients or webmail, vs the mail service, itself.
Log into NodeWorx from the browser (https://ip.ad.dr.ess:2443/nodeworx)
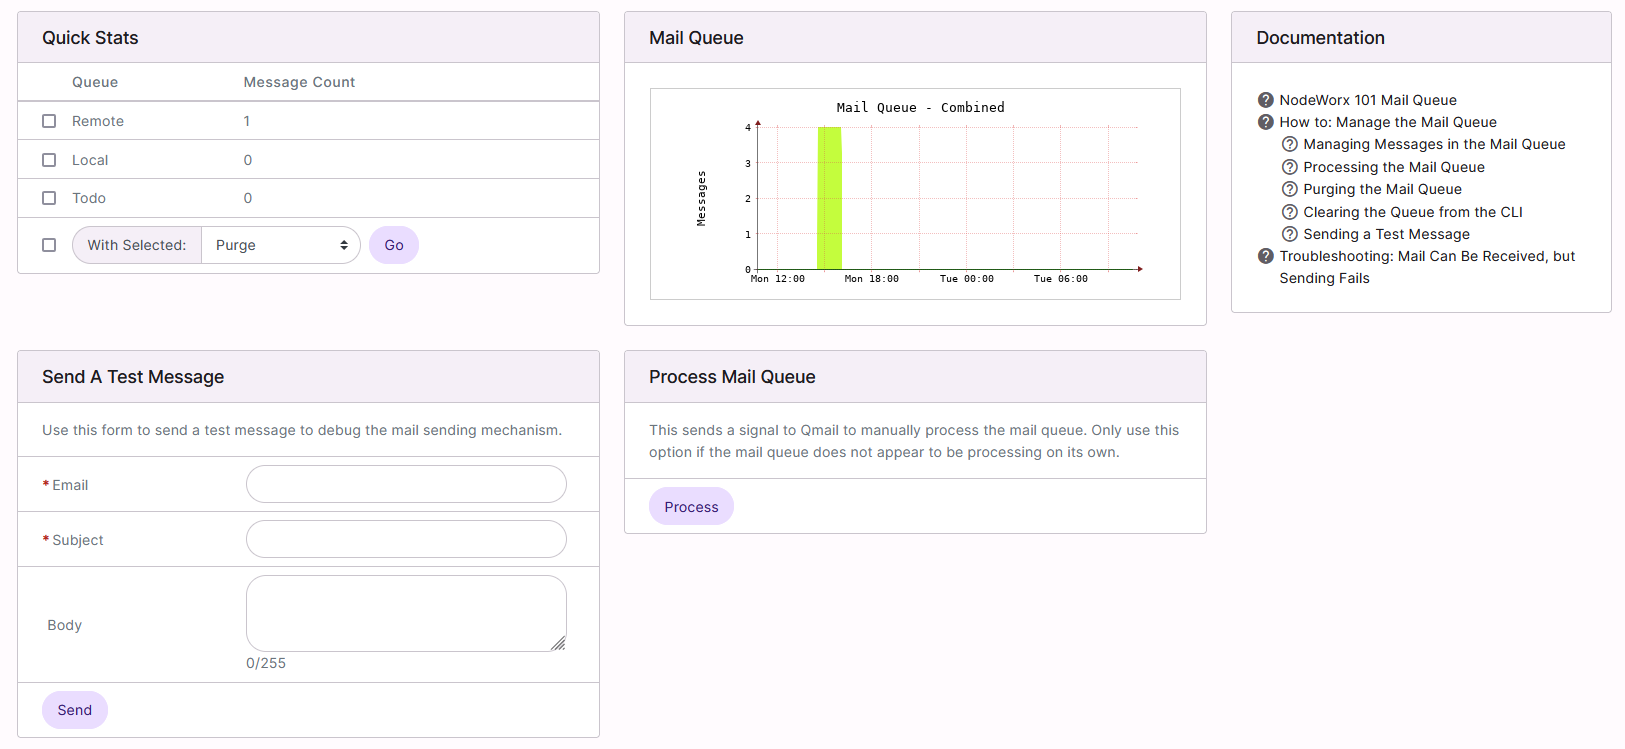
In NodeWorx, navigate to System Services > Mail Server> Mail Queue
Under Send a Test Message, update the required fields:
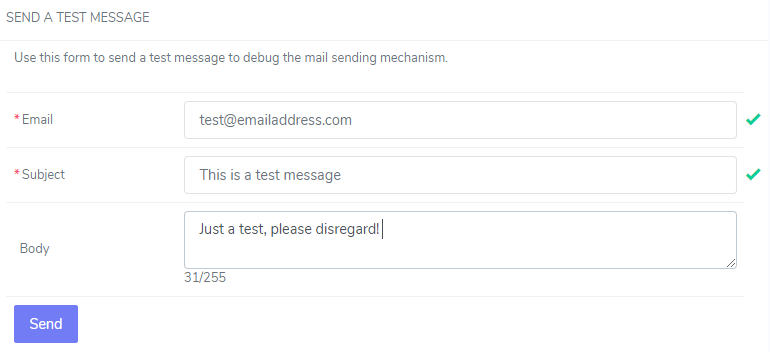
Email: The address to send the message to
Subject: The subject of the message
Body: The body of the message
Click Send
To Manage Messages in the Mail Queue
Changing the Queue
Log into NodeWorx from the browser (https://ip.ad.dr.ess:2443/nodeworx)
In NodeWorx, navigate to System Services > Mail Server> Mail Queue
Next to Queue, select the desired queue dropdown:

Remote + Local: Messages both to/from remote servers, as well as to/from email addresses on the server
Remote: Messages to/from remote servers
Local: Messages to/from email addresses on the server
Todo: Messages waiting to be sorted into either Remote or Local
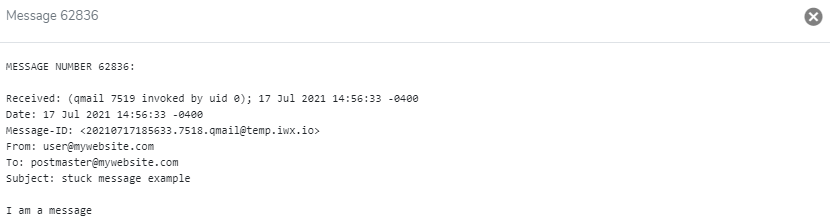
Viewing a Message in the Queue
Log into NodeWorx from the browser (https://ip.ad.dr.ess:2443/nodeworx)
In NodeWorx, navigate to System Services > Mail Server> Mail Queue
Under Action, click View Message next to the message. This opens the message details form

Expiring a Message in the Queue
Expiring a message will result in the message being deleted the next time the mail queue is processed. Messages in the queue generally will expire automatically after seven days.
Log into NodeWorx from the browser (https://ip.ad.dr.ess:2443/nodeworx)
In NodeWorx, navigate to System Services > Mail Server> Mail Queue
Select the checkbox next to the message(s)
Selecting the checkbox next to the With Selected dropdown will automatically select all messages
Select Expire from the With Selected dropdown

Click Go
Unexpiring a Message in the Queue
Log into NodeWorx from the browser (https://ip.ad.dr.ess:2443/nodeworx)
In NodeWorx, navigate to System Services > Mail Server> Mail Queue
Select the checkbox next to the message(s)
Selecting the checkbox next to the With Selected dropdown will automatically select all messages
Select Unexpire from the With Selected dropdown

Click Go
Deleting a Message in the Queue
Deleting a message immediately removes the message from the queue and no further attempts to deliver the message will occur.
Log into NodeWorx from the browser (https://ip.ad.dr.ess:2443/nodeworx)
In NodeWorx, navigate to System Services > Mail Server> Mail Queue
Select the checkbox next to the message(s)
Selecting the checkbox next to the With Selected dropdown will automatically select all messages
Select Delete from the With Selected dropdown

Click Go.
To Process the Mail Queue
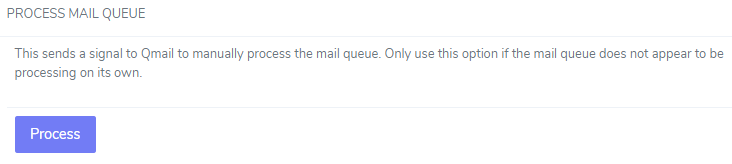
This sends a signal to Qmail to manually process the mail queue.
Note
This option should only be used if the mail queue does not appear to be processing on its own.
Log into NodeWorx from the browser (https://ip.ad.dr.ess:2443/nodeworx)
In NodeWorx, navigate to System Services > Mail Server> Mail Queue
Under Process Mail Queue, click Process
To Purge the Mail Queue
If a queue is purged, the messages within will not be processed.
Log into NodeWorx from the browser (https://ip.ad.dr.ess:2443/nodeworx)
In NodeWorx, navigate to System Services > Mail Server> Mail Queue
Under Quick Stats, select the checkbox next to the queue to purge:
Selecting the checkbox next to the With Selected dropdown will automatically select all queues
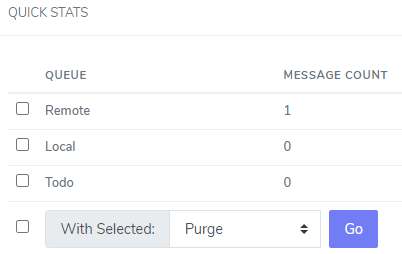
Remote: Messages to/from remote servers
Local: Messages to/from email addresses on the server
Todo: Messages waiting to be sorted into either Remote or Local
Select Purge from the With Selected dropdown
Click Go
To Clear the Queue from the CLI
To Globally Empty the Queue
Warning
Globally emptying the queue will delete all messages that are currently in the queue. This includes both spam and valid messages. As such, this method should be used with caution.
Log in to the server at the CLI as root, either via SSH or from the terminal
From the CLI, run the following command sequence. This sequence will:
Navigate to the qmail directory
Stop the SMTP service
Rename the queue directory to queue.bad
Reinstall qmail–this regenerates the queue directory
Restart the SMTP service
cd /var/qmail; service smtp stop; mv queue queue.bad; yum reinstall qmail -y; service smtp start
To Selectively Clear the Queue
Selectively clearing the queue uses a pattern, such as a source email address, to target messages for removal.
Log in to the server at the command line as root, either via SSH or from the terminal
From the CLI, run the following command sequence, replacing {PATTERN} with the source email address, or other pattern you would like to search for and remove from the queue. This sequence will:
Navigate to the qmail queue directory
Create a folder named “junk” for the spam messages to be moved to
Stop the SMTP service
Search for a specific pattern and move all messages matching that pattern to the junk folder
Restart the SMTP service
cd /var/qmail/queue/; mkdir junk; service smtp stop; /var/qmail/bin/qmail-remove -p "{PATTERN}" -y junk/ -r; service smtp start