Note
You are viewing the documentation for an older release of Interworx (8.0). To see documentation for the current generally available release of Interworx, click here: 8.2.
How To: Manage Languages
InterWorx Control Panel has support for multiple languages. Each user in the system can specify the language they would like to use with the control panel.
The NodeWorx Languages interface allows for the addition of new language modules. Information on how to make a new language translation for InterWorx can be found here.
Contents
To Use a Specific Language
Log into NodeWorx from the browser (https://ip.ad.dr.ess:2443/nodeworx)
Navigate to NodeWorx > Languages

Click the vertical dots icon next to the desired language. This open an option menu

Click Use This Language. This opens a confirmation form
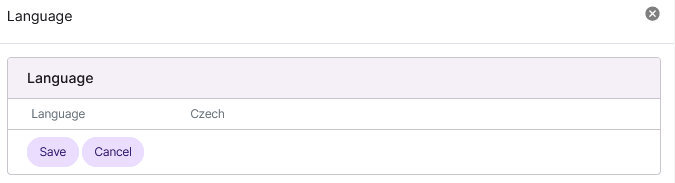
Click Save
To Download a Language File
Log into NodeWorx from the browser (https://ip.ad.dr.ess:2443/nodeworx)
Navigate to NodeWorx > Languages
Click the Down Arrow next to the language to be downloaded. This opens a new window stating the download will begin
To Add a Language File
Log into NodeWorx from the browser (https://ip.ad.dr.ess:2443/nodeworx)
Navigate to NodeWorx > Languages
Click either + or Add a Language. This opens the Language Management form

Select the Language to be added from the Select Language to Add dropdown
Select the lanaguage file to be added
Click Browse to choose a language file on the local hard drive
Click the Folder to specify the path to a file on the server
Click Save
To Delete a Language File
Log into NodeWorx from the browser (https://ip.ad.dr.ess:2443/nodeworx)
Navigate to NodeWorx > Languages
Click the Trashcan next to the language to be deleted. This opens the Confirmation form
Click Delete to confirm