How To: Manage FTP Accounts
From the FTP Accounts page in SiteWorx, users are able to add and manage FTP accounts. A user named ftp@{domain.com}, where {domain.com} is replaced with the primary domain domain of the SiteWorx account, is automatically created when the SiteWorx account is.
Note
FTP accounts can be limited or disabled by the Server Administrator.
SiteWorx users who do not see FTP listed as an option in SiteWorx should contact their hosting provider.
Contents
To Add an FTP Account
From the Accounts Page
Log into SiteWorx from the browser (https://ip.ad.dr.ess:2443/siteworx)
In SiteWorx, navigate to Hosting Features > FTP > Accounts, either from the side menu or SiteWorx home. This opens the FTP Accounts page

Select the domain from the dropdown in the upper right-hand corner
Click + or Add an FTP Account. This opens the Add and FTP Account form
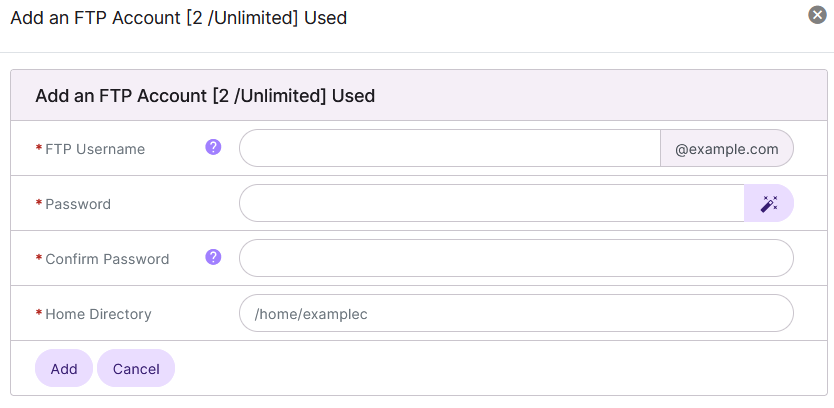
Update the required fields:
FTP Username: The username for the FTP account
Password: The password for the FTP account
Confirm Password: The password for the FTP account, again
Home Directory: The home directory the account has access to
Click Add
From the Add an FTP Account Icon
Log into SiteWorx from the browser (https://ip.ad.dr.ess:2443/siteworx)
In SiteWorx, click Add an FTP Account. This opens the Add an FTP Account form
Update the required fields:
FTP Username: The username for the FTP account
Password: The password for the FTP account
Confirm Password: The password for the FTP account, again
Home Directory: The home directory the account has access to
Click Add
To Edit an FTP Account
Log into SiteWorx from the browser (https://ip.ad.dr.ess:2443/siteworx)
In SiteWorx, navigate to Hosting Features > FTP > Accounts, either from the left-hand menu or the SiteWorx Home page. This opens the FTP Accounts page
Click the Pencil next to the account. This opens the FTP Accounts form
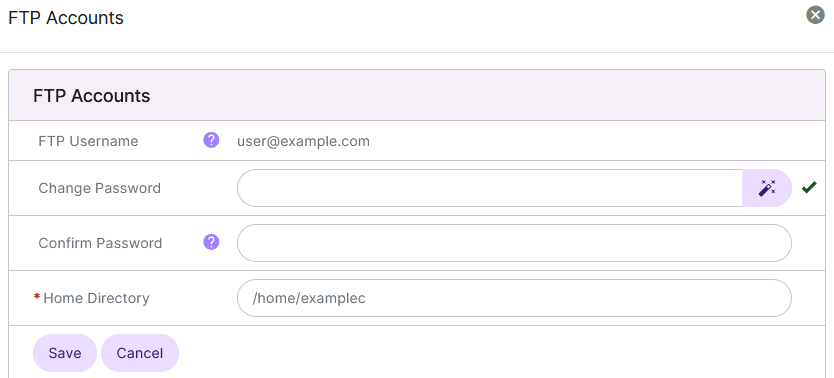
Update the desired fields:
Password: The password for the FTP account
Confirm Password: The password for the FTP account, again
Home Directory: The home directory the account has access to
Click Save
To Suspend an FTP Account
From the Accounts List
Log into SiteWorx from the browser (https://ip.ad.dr.ess:2443/siteworx)
In SiteWorx, navigate to Hosting Features > FTP > Accounts, either from the left-hand menu or the SiteWorx Home page. This opens the FTP Accounts page
Click the three vertical dots next to the account. This opens an options menu
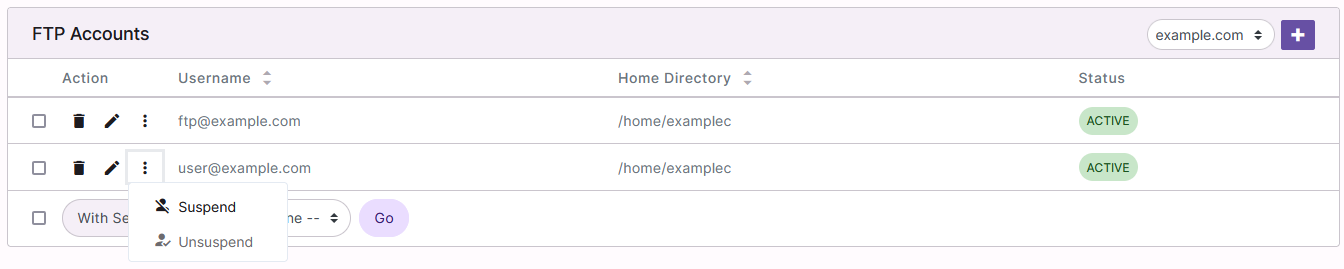
Click Suspend. This opens a confirmation form
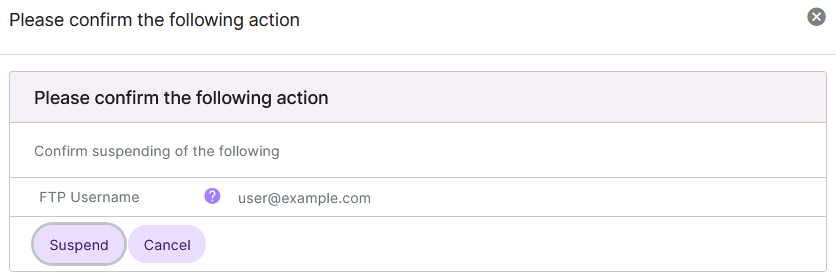
Click Suspend
From the With Selected Dropdown
Log into SiteWorx from the browser (https://ip.ad.dr.ess:2443/siteworx)
In SiteWorx, navigate to Hosting Features > FTP > Accounts, either from the left-hand menu or the SiteWorx Home page. This opens the FTP Accounts page
Select the checkbox next to the account(s)
Selecting the checkbox next to the With Selected dropdown will automatically select all accounts
Select Suspend from the With Selected dropdown
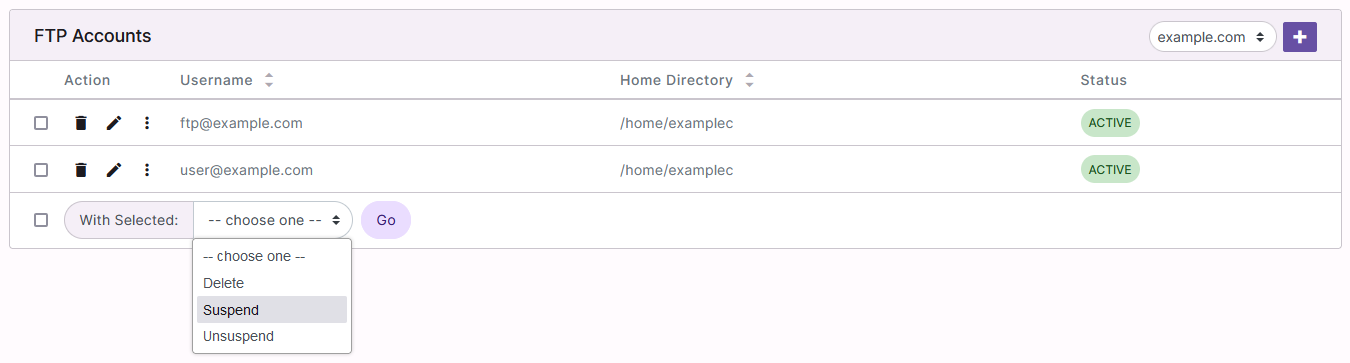
Click Go. This opens a confirmation form
Click Suspend
To Unsuspend an FTP Account
From the Accounts List
Log into SiteWorx from the browser (https://ip.ad.dr.ess:2443/siteworx)
In SiteWorx, navigate to Hosting Features > FTP > Accounts, either from the left-hand menu or the SiteWorx Home page. This opens the FTP Accounts page
Click the three vertical dots next to the account. This opens an options menu
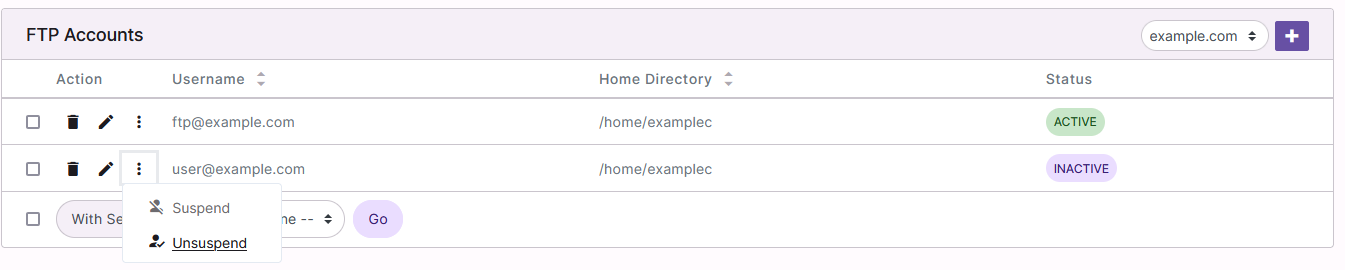
Click Unsuspend. This opens a confirmation form
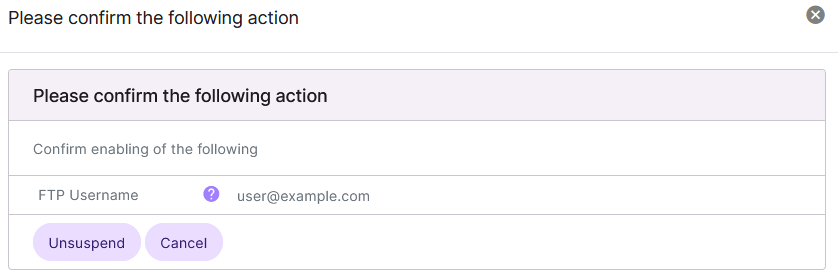
Click Unsuspend
From the With Selected Dropdown
Log into SiteWorx from the browser (https://ip.ad.dr.ess:2443/siteworx)
In SiteWorx, navigate to Hosting Features > FTP > Accounts, either from the left-hand menu or the SiteWorx Home page. This opens the FTP Accounts page
Select the checkbox next to the account(s)
Selecting the checkbox next to the With Selected dropdown will automatically select all accounts
Select Unsuspend from the With Selected dropdown
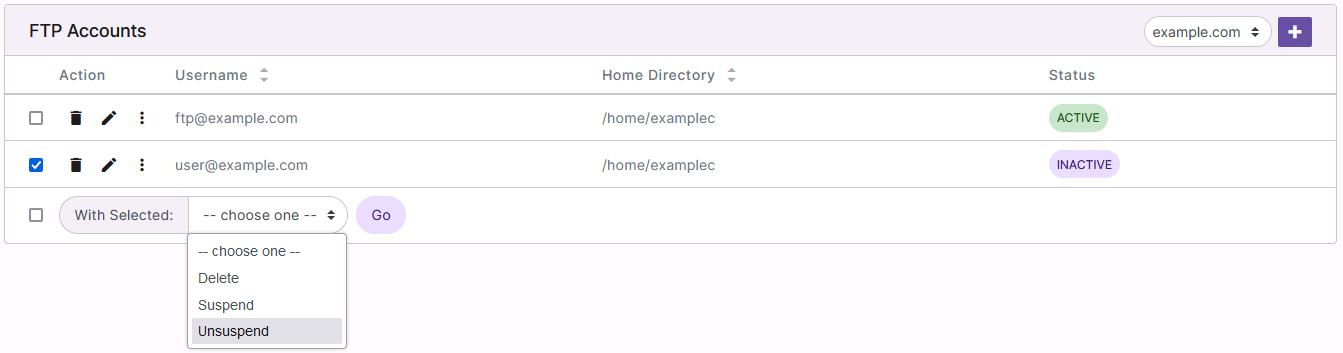
Click Go. This opens a confirmation form
Click Unsuspend
To Delete FTP Accounts
From the Accounts List
Log into SiteWorx from the browser (https://ip.ad.dr.ess:2443/siteworx)
In SiteWorx, navigate to Hosting Features > FTP > Accounts, either from the left-hand menu or the SiteWorx Home page. This opens the FTP Accounts page
Click the Trashcan. This opens the Confirm Deletion form
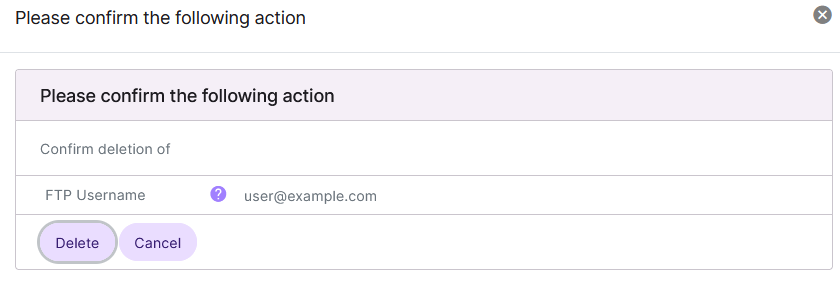
Click Delete
From the With Selected Dropdown
Log into SiteWorx from the browser (https://ip.ad.dr.ess:2443/siteworx)
In SiteWorx, navigate to Hosting Features > FTP > Accounts, either from the left-hand menu or the SiteWorx Home page. This opens the FTP Accounts page
Select the checkbox next to the account(s)
Selecting the checkbox next to the With Selected dropdown will automatically select all accounts
Select Delete from the With Selected dropdown
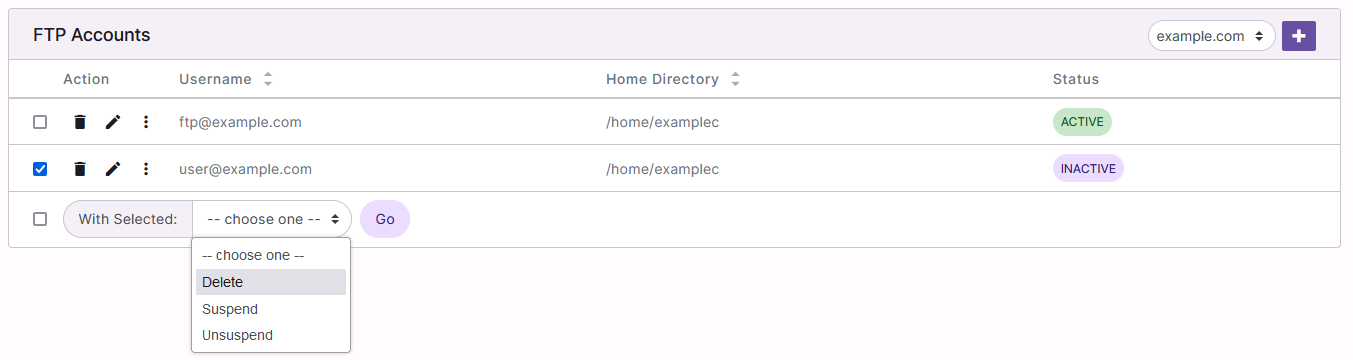
Click Go. This opens the Confirm Deletion form
Click Delete