How To: Manage Exported NFS Shares
The InterWorx control panel provides an easy-to-use interface for the /etc/exports file. This file controls
access to local filesystem via NFS. Adding NFS exports will allow other servers to mount file systems on this server
over the network.
From the Exports page in NodeWorx, server administrators can add and remove mounted NFS exports.
Contents
To Add an Exported NFS Share
Log into NodeWorx from the browser (https://ip.ad.dr.ess:2443/nodeworx)
In NodeWorx, navigate to System Services > NFS Server > Exports

Under Add Exported Filesystem, update the required fields:

Directory To Export: The directory that will be visible to NFS clients wishing to mount the share
IP Allow List: The list of hosts or subnets that may utilize the share
Read/Write Access: Determines whether the the hosts that mount the share are permitted to make changes to the filesystem
Read Only: Hosts that mount the share are unable to make changes to the filesystem
Read/Write: Hosts that mount the share are able to make changes to the filesystem
Root User Access: Determines if the root user on the NFS client system is allowed to behave as root when accessing the NFS share:
Enabled: Actions taken by the root user when accessing the NFS share will be mapped as root
Disabled: Actions taken by the root user when accessing the NFS share will be mapped to the “nobody” unix user on the local NFS server filesystem
Sync Options: Determines how much care NFS takes in storing changes made by the client, locally, on the NFS server. Typically when a client makes a request, the NFS client has to send the request from the server, then the server has to write the data to local disk, then it has to notify the client that the change was successfully made. There are two options that determine when the client is notified that the changes were made:
Syncronous: The client will not get a response that the change has been made until the server has safely written the data to disk
Asyncronous The client will receive the OK as soon as the NFS server has scheduled the data to be updated on disk–the response is sent when the change is placed in the queue, not when it is completed
Click Add
To Remove an Exported NFS Share
Log into NodeWorx from the browser (https://ip.ad.dr.ess:2443/nodeworx)
In NodeWorx, navigate to System Services > NFS Server > Exports
Under Exported NFS Shares, select the checkbox next to the exported share(s) to be removed
Selecting the checkbox next to the With Selected dropdown will automatically select all accounts
From the With Selected dropdown, select Delete

Click Go. This opens the Additional Input form

Select the export from the Export field
Click Continue. This opens the Confirm Delete form
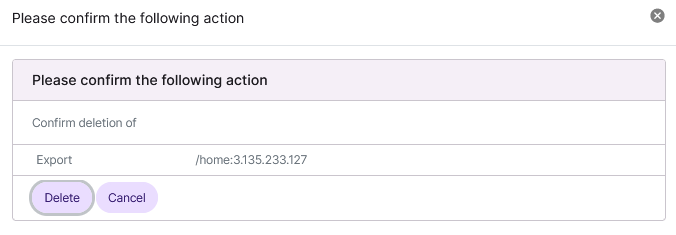
Click Delete