How To: Create and Manage SiteWorx Packages
InterWorx allows the system administrator and resellers to set pre-defined packages to save time when creating new SiteWorx accounts. Packages are also often used by third party billing systems instead of individual options.
Note
Changing or deleting a package does not affect existing SiteWorx accounts created with that package. Only new accounts are affected.
Contents
Add a SiteWorx Package
Log into NodeWorx from the browser (https://ip.ad.dr.ess:2443/nodeworx)
In NodeWorx, navigate to SiteWorx > Packages

Click Add Package. This opens the SiteWorx Packages form
Alternately, click the vertical dots icon in the top right corner of Package Management box. This opens an option form

Select Add. This opens the SiteWorx Packages form

Update the required fields. These include:
Package Name: The name used to identify the created package
Set as Default: Determines if the package will be the default for all newly created SiteWorx accounts
Storage Space: Listed in in megabytes. The maximum amount of storage allowed for the SiteWorx account
This is enforced by the Linux quota system. In order for the entire impact to disk space to be measured,
/chroot,/home, and/varmust all be mounted on the same partitionQuotas must be enabled on the server in order for storage space to be calculated. See Enabling Quota Guide
Bandwidth: Listed in gigabytes. The maximum amount of bandwidth allowed per month
Includes FTP bandwidth usage
E-mail Aliases: The number of e-mail aliases (often called e-mail forwards) allowed
Aliases are a “virtual” email address that just redirects all mail to another address
E-mail Autoresponders: The number of e-mail autoresponders (often called robots) allowed
E-mail Boxes: The number of POP3/IMAP/Webmail e-mail boxes allowed
E-mail Groups: The number of group e-mail addresses allowed
A group e-mail address an alias that sends to multiple recipients
FTP Accounts: The number of FTP accounts allowed
MySQL Databases: The number of MySQL databases allowed
MySQL Users: The number of MySQL users allowed
Pointer Domains: The number of domains that can be pointed to a domain under the SiteWorx account
A pointer domain is a domain that redirects to a specified domain
It can also be referred to as a “parked” domain
Secondary Domains: The number of secondary domains that can be added to the account
Secondary domains share all the package feature limits (e-mail boxes, ftp accounts, etc) of the master domain
Secondary domains have their own stats, bandwidth recording, and web space
Secondary domains can also be used to create subdomains with their own segregated storage and bandwidth statistics
Subdomains: The number of subdomains that can be added to a SiteWorx account
Account Backup: Determines if a SiteWorx user can schedule and create backups of their account in SiteWorx
For very large accounts, creating backups can be resource intensive
If No is selected, the SiteWorx user will not be able to create account backups from SiteWorx, and the NodeWorx user will have to create any required or requested backups
CGI Access: Determines if a SiteWorx account has CGI script access
CRON tab Access: Determines if a SiteWorx account is able to set up or modify Cronjobs
Resolve DNS Names: Determines whether or not to resolve an ip address to a domain name for stats purposes
If Yes is selected, statistics will reflect a human readable domain name rather than the ip address of the domain
Reverse resolution of IP address can take an extended amount of time and can slow stats generation considerably
SSL Access: Enables SSL certificates for a SiteWorx account
Burstable: Determines what happens when a SiteWorx account reaches its bandwidth quota
If Yes is selected, the SiteWorx account will be able to go over its bandwidth allotment
If No is selected, the SiteWorx account bandwidth will be capped at a predefined limit and transfer of data will be stopped once the transfer limit is reached. Stopping data transfer is equivalent to having the site “turned off”
Save Web Transfer Logs: Determines if transfer logs will be available for download and offline analysis
Click Add
Edit a SiteWorx Package
Log into NodeWorx from the browser (https://ip.ad.dr.ess:2443/nodeworx)
In NodeWorx, navigate to SiteWorx > Packages
Click the Pencil next to the package. This opens the Edit SiteWorx Package form

Modify the desired values
Click Save
To Import a SiteWorx Package
Log into NodeWorx from the browser (https://ip.ad.dr.ess:2443/nodeworx)
In NodeWorx, navigate to SiteWorx > Packages
Click Import Package. This opens the Package Import form
Alternately, click the vertical dots icon in the top right corner of Package Management box. This opens an option form
Select Import. This opens the Package Import form

In the Package File field, there are two options:
Click Browse to choose a backup file on the local machine hard drive
Click the Folder to specify the path to a backup file located on the destination/local server
Click Import
To Back Up a SiteWorx Package
From the Accounts List
Log into NodeWorx from the browser (https://ip.ad.dr.ess:2443/nodeworx)
In NodeWorx, navigate to SiteWorx > Packages
Click the three vertical dots next to the package. This opens an options menu

Click Backup. This opens the Confirm Backup form
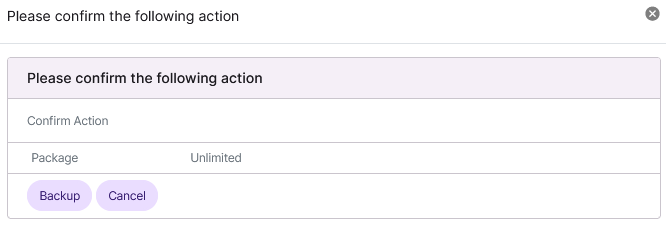
Click Backup
From the With Selected Dropdown
Log into NodeWorx from the browser (https://ip.ad.dr.ess:2443/nodeworx)
In NodeWorx, navigate to SiteWorx > Packages
Select the checkbox next to the account(s)
Selecting the checkbox next to the With Selected dropdown will automatically select all accounts
Select Backup from the With Selected dropdown
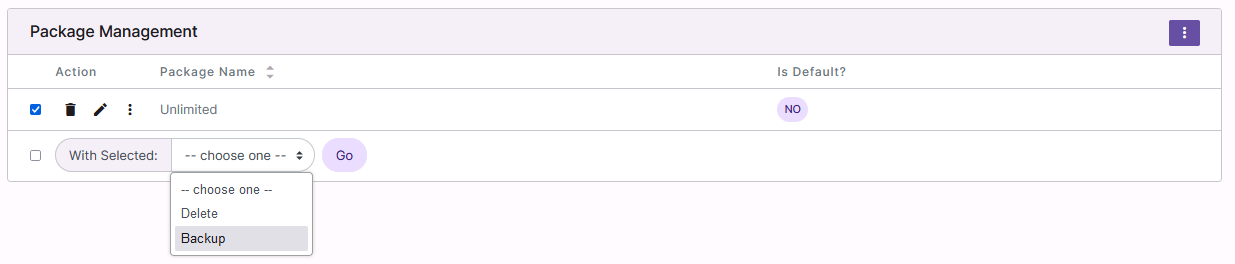
Click Go. This opens the Confirm Backup form
Click Backup
Delete a SiteWorx Package
Note
Deleting an existing package does not affect any SiteWorx accounts that have already been created using that package.
From the Accounts List
Log into NodeWorx from the browser (https://ip.ad.dr.ess:2443/nodeworx)
In NodeWorx, navigate to SiteWorx > Packages
Click the Trashcan next to the package. This opens the Confirm Deletion form

Click Delete
From the With Selected Dropdown
Log into NodeWorx from the browser (https://ip.ad.dr.ess:2443/nodeworx)
In NodeWorx, navigate to SiteWorx > Packages
Select the checkbox next to the account(s)
Selecting the checkbox next to the With Selected dropdown will automatically select all accounts
Select Delete from the With Selected dropdown
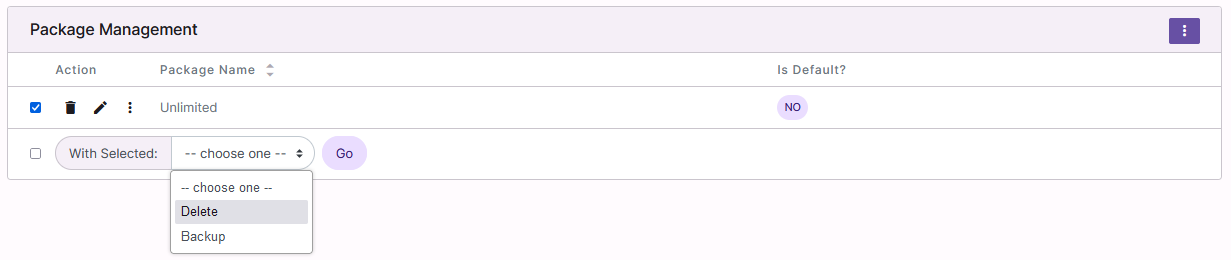
Click Go. This opens the Confirm Deletion form
Click Delete